Showing posts with label getting crafty. Show all posts

Friday, March 8, 2013

The Man in the Yellow Hat

I was so excited to find out that Braden's school was going to celebrate Read Across America day by letting the kids dress as their favorite book character and walk in a school wide parade.  Braden was super excited and kept asking if people were going to be playing horns at the front of the parade (um...no) and immediately thought of dressings Curious George (um....no, not gonna buy a monkey suit for one day).  After several suggestions from me and several um...nos from him we finally settled on the Man in the Yellow Hat and decided that Braden could carry  Parker's stuffed Curious George.

The costume was fairly simple to put together (after I figured out how to rig the hat) and not too pricey to make.  After digging through his closet, a trip to Hobby Lobby, a little sewing and a lot of hot glue, this is what we rangled up...


watching the parade

she looks thrilled, doesn't she?


walking in the parade...he was so excited!


Braden and his buddy, Ty

mommy and Braden...and Parker hiding behind my back

Friday, October 19, 2012

Burlap Frames

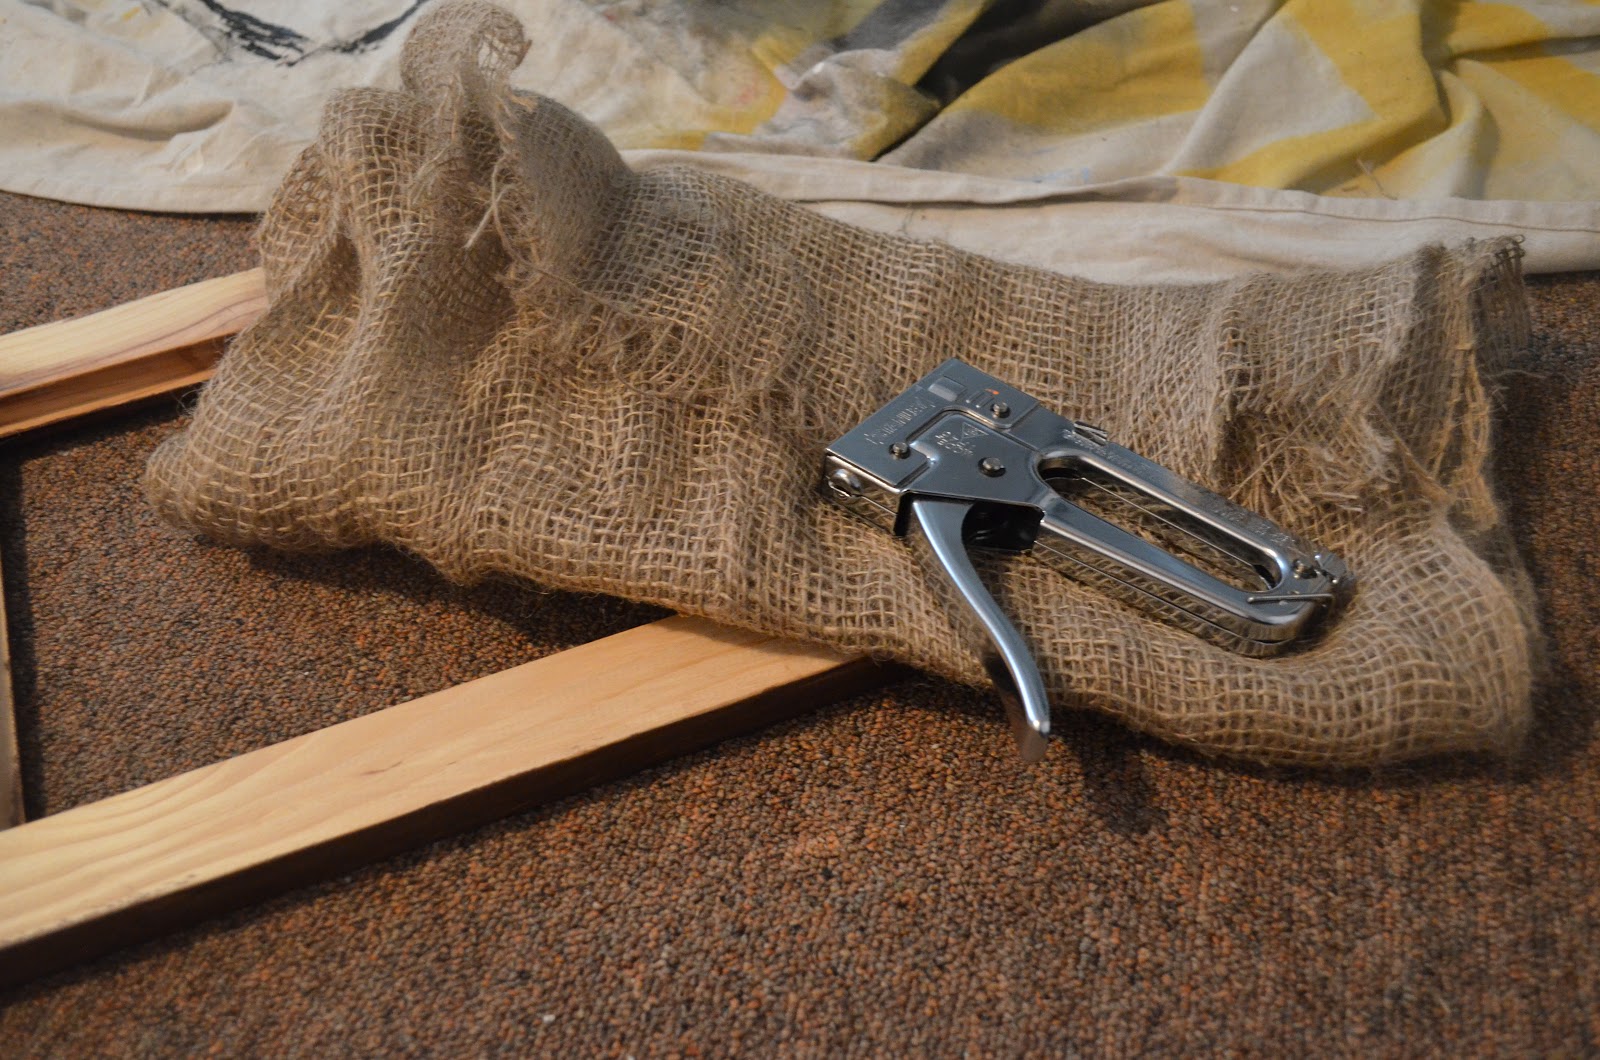
I LOVE Pinterest!  I have found so many awesome ideas to spruce up our house!  The latest idea that I found was this super cute burlap frame trio that I am using to display my instagram pics.  I am always looking for ways to use up a little burlap after the shower that we gave for my sister in law and cousin! This project was super easy and most of the items that I needed I already had in hand. 

For this project you will need:
  • frames (I purchased three unfinished frames from Hobby Lobby when they were on sale for 50% off)
  • stain or paint (I had wood stain on hand, so that is what I used)
  • clothespins
  • burlap
  • some sort of backing to attach your burlap to- I used
  • staple gun
  • hot glue gun
  • picture hangers
  • pictures

Stain your unfinished frames and clothespins


I bought 3 picture mats because I needed something to staple my burlap onto.


 Staple your burlap onto the mat.

 Use your staple gun to staple your burlap covered mat onto the frame.

Cut off the excess burlap.


 Hot glue (or nail) the picture hanger onto the back of the frame.
 Hot glue the clothespin onto the burlap.

I love the way it turned out and love that I can change my pictures anytime I want!  My instagram pictures were printed through Snapstagram and they turned out great! 

Thursday, September 22, 2011

What Were We Thinking???

I can't stop....I have this issue with always having to be doing something or having some project big or small. It is a little bit of an issue, especially at 39 weeks when I have edema in both ankles, yet never get off my feet until usually close to 10:00 each night. Yet, here we are 4 days away from checking into the hospital and today we had new counter tops put in, which is great except that it created about 10 more projects for me!


But tonight when I look into our kitchen and it looks like home, it feels totally worth it! It feels like me, like the Hoffman house instead of us living in my grandparent's house and that makes me happy. So I have to say a HUGE thank you to my husband for putting up with nutty projects and being the muscle behind my madness and my parents for ALWAYS helping with our projects! The only thing we have left to do at this point is put the stove back on and add the back splash. The stove will be on tomorrow afternoon, but the back splash won't be on until after Emersyn arrives and I want to wait to show the final pictures when the kitchen is COMPLETELY finished!

Here is a look a the work we've been doing!


How I loathe the purple flower wallpaper!


It took a million steps and several days to paint over the wallpaper, but it was so much easier than trying to remove the wallpaper like we did in the boy's bathroom!


The old countertops and the old gold hardware at the very top. Brad already put the new hardware on the bottom cabinets.

Friday, August 12, 2011

Emersyn's room

Emersyn's room is finished! Woo Hoo! He furniture is in her room, her bedding is in her crib, her curtains and letters are hung, her drawers and closet are filled with goodies and now we are just waiting on her arrival.
Working on her room was a lot of fun! I ordered the bedding from Pottery Barn Kids. I loved the brown sheet with the polka dots of fuchsia, pink, aqua and lime green. We painted the walls a light aqua color and I found a cute fabric that had all of the colors and I recovered the hope chest that was my grandma's and also used it to cover a lamp and make curtains and a pillow for her chair. One of my favorite pieces in the room is the old chair that was my grandma's. I love the curves, the fabric, the wood and the vintage look and feel. I saw ideas for the letters on etsy and then googled the idea and saw how easy it was and decided that I could make them myself. I also used the same idea to make a hair bow holder and I learned to make hair bows and I have been whipping them out like crazy! I am really happy with how her room turned out and love that it is girly without looking like someone walked in and spilled a giant bottle of pepto bismol everywhere!

Sunday, August 2, 2009

Big Boy Room

This summer has been all about Braden being a big boy. In the middle of June, Braden's big boy bed arrived! He was so excited! Now he won't even go into the nusery because it is a "baby room." The only "problem" we have encountered is that he likes to get out of his bed during nap time and play with his toys (he has a few in his room, since we moved his playroom upstairs). However, after we warn him not to get out of bed he does fine.


This is before we put the bed rail on.


His pillow says 'Braden"


I painted pictures to go with his quilt and sheets that I ordered from Pottery Barn. I have yet to hang them, but this is what they look like. I still have a few odds and ends to do in his new room (like hang pictures and repaint two 8 x 10 frames, but hopefully I will get hose finished soon and I can post completed pictures of his room!


My inspiration for the pictures AKA I copied the car, truck and bus!


Friday, April 10, 2009

Easter Eggs

I saw this idea in my Paula magazine and wanted to try them. I was starting to think it was a stupid idea since it took so long, but I am pleased with the end result. My hope is that Braden will be able to keep these eggs FOREVER (especially considering the time and effort I put into these stinking eggs), but Brad has informed me that since he is a boy he highly doubts that he will care! Anyway...here they are 3 days and 9 coats of paint later.... YES I SAID 9!


Saturday, March 14, 2009

St. Patrick's Day Project

This past week while I was looking for ideas to use with my class I came across this cute project that I thought I could try with Braden at home. I knew that it would be too easy for my class at this point in the year and too hard for Braden because it involved cutting pieces of green paper and I am NOT giving my just turned 2 year old scissors, but with a few modifications it was a success!


Materials:

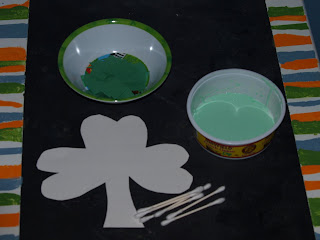
Shamrock pattern, green construction paper, q-tips, glue


Here are the directions:

1. Draw or print a shamrock template (I drew my own- 3 hearts and a stem)

2. Cut out shamrock- if you have older children they can do all of the cutting for this project

3. Cut out small pieces of green construction paper

4. Use shamrocks to smear on the glue (I tinted my glue with green food coloring so that it would be easier for Braden to know where he had already applied the glue)

5. Place green construction paper on shamrock and allow to dry!


Braden had so much fun smearing the glue with the q-tips and putting the construction paper on the shamrock. This was his first time using glue and he did a great job!

Happy St. Patrick's Day!